I use Nikon Digital SLR cameras, as you probably know by now.
I thought I should contribute a few pointers on what I do.
When I take a photo, the camera records two files on the memory card - a basic JPG and a file known as RAW. This is a file containing the data straight from the camera sensor. A basic JPG can be quite a small file in comparison - typically between 1.5Mb and 2Mb, on a 10.2MP camera. The RAW file can be in excess of 10Mb on a 10.2MP camera, and as much as 18 to 20Mb on my new camera.
I use the basic JPG for my own reference to go through the files and see what I think are photos worth editing.
I've never been a fan of HDR - so often you see an image that has been HDR'd to death and it just looks wrong...
I have dabbled with it - indeed my
Photo of the year 2007 was a HDR of 3 images, though I try and achieve a result where it doesn't look like a HDR for me to like the result.
To edit the file, I thought I would find a photo to use as an example.
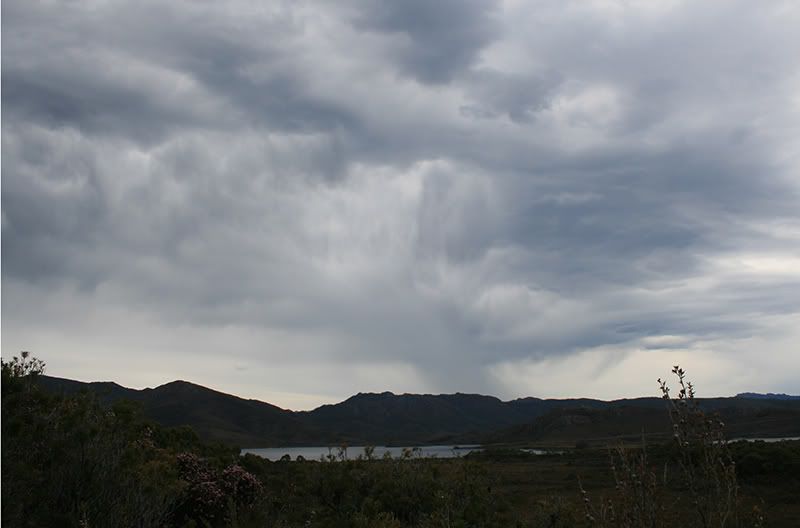
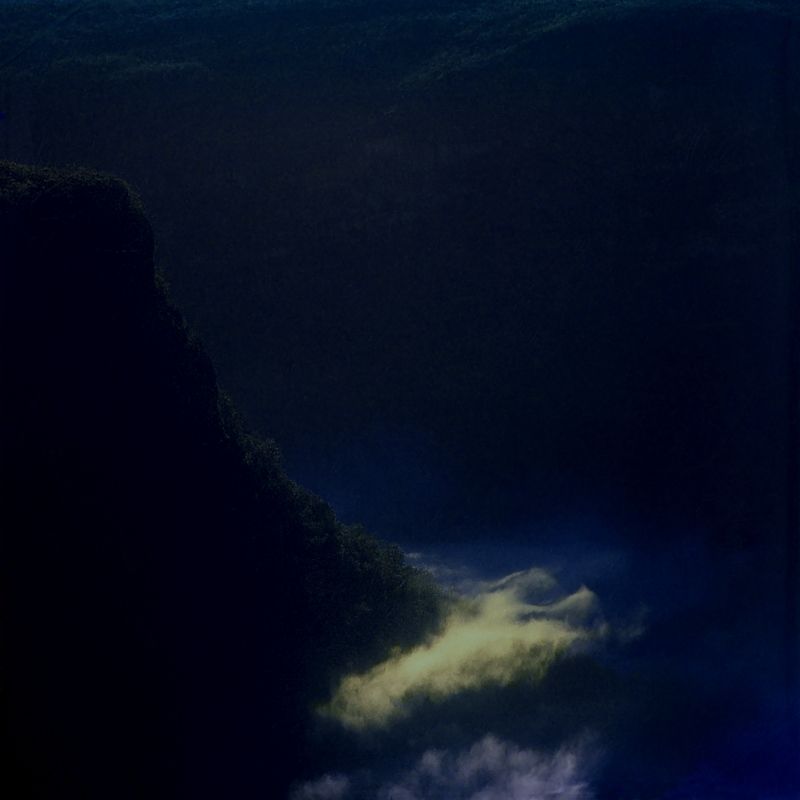
OK. Here is an image, the basic jpg out of the camera. Resized, and also I have added two circles.

The yellow circle is a small dust spot, and the red circle is showing a rock in the water.
I open the RAW file in photoshop and zoom to 300% size. The rock in the red circle looks like this -

I then adjust the sliders to remove all chromatic aberration and it looks like this

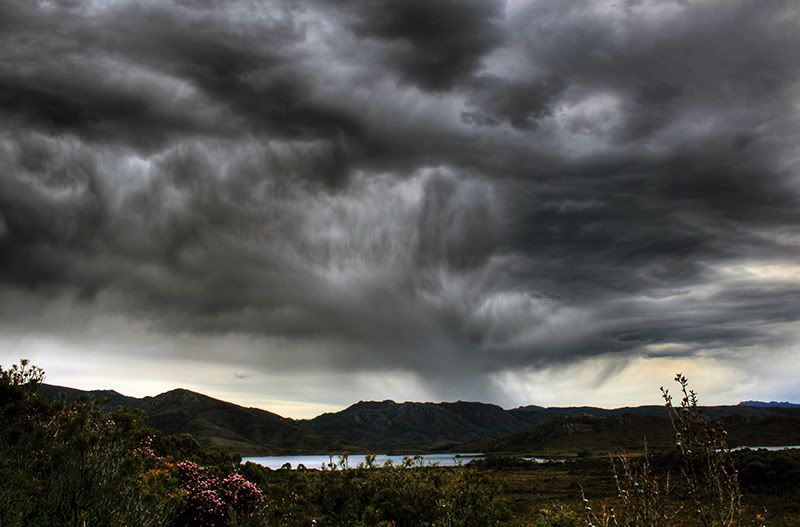
I then adjust the tone curve until I am happy with the look

And adjust some other settings, particularly the white balance

Tweak a few colours in the saturation if I think it needs it -

I will then adjust the sliders in the sharpen area as I think they might need it -

But it is important not to overdo the sharpening here as I find a better job can be done soon...
One more step in Photoshop is to check the horizon - there's a really cool tool here that allows you to drag along a straight horizon and it will crop and rotate the image best-fit to that horizon.
Now I click on Open image, and it launches the image in Photoshop proper.
Zoom to 100% and use the clone tool to get rid of the dust spot, then open up the unsharp mask and adjust the sharpness to your liking...

Convert to 8 bit and save as a JPG.

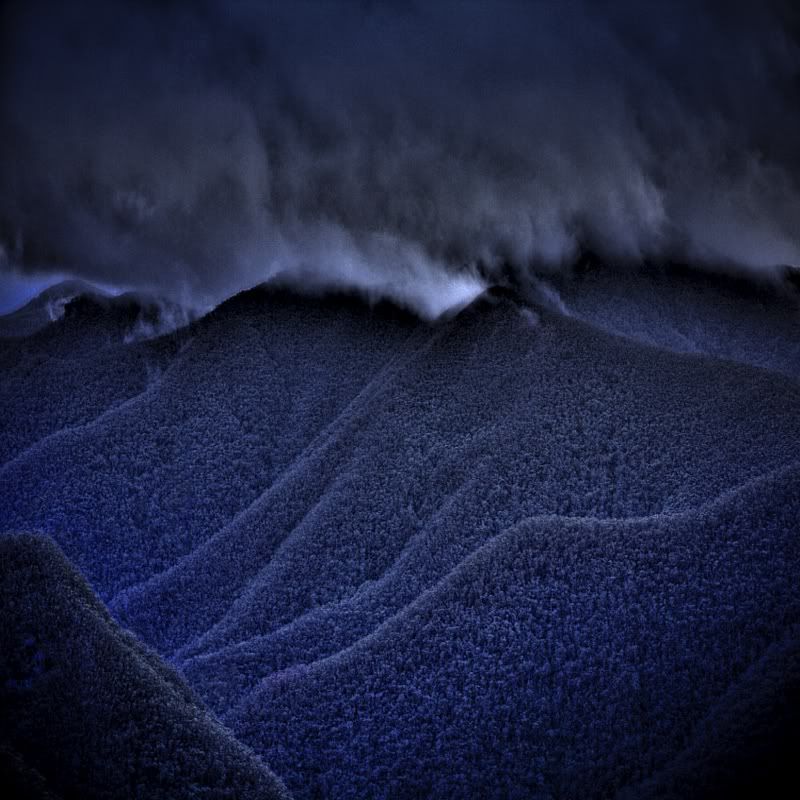
Here is a 100% crop of an area of that photo -

The really bright areas with a dark background can sometimes show a shadowing, indicative of the sharpening tool, so you need to be careful with it.
The result at 100% looks questionable, but printed on 20x30 inch it looks fine - we're looking at a pretty big area here.
This image was just done only as an example for this topic. It would appear that I have warmed it a bit too much, the colour balance could be turned down a bit.
Hope these pointers help.
EDIT. Since purchasing Adobe Photoshop CS5, a lot of this is no longer relevant in my current workflow.