Grahams Dam Circuit - Lerderderg National Park 11/11/2012
I haven't been able to get any walks under my belt in recent years, both day or overnight hikes due to me packing on more than a few extra KG's. By more than a few extra KG's, I mean that I weighed in at around 170kgs. Funny what meeting a girl does to you. 
Anyway, over the past 2.5 months, I've dropped around 25kg's, and thought I'd get in a fairly decent sized day walk to test my new level of fitness.
I'd never walked anything substantial at Lerderderg National Park, but upon my last visit, at Grahams Dam, took a particular fancy for the spur that rises up from the river bank, and thought I'd give it a shot, and make a circuit out of it.
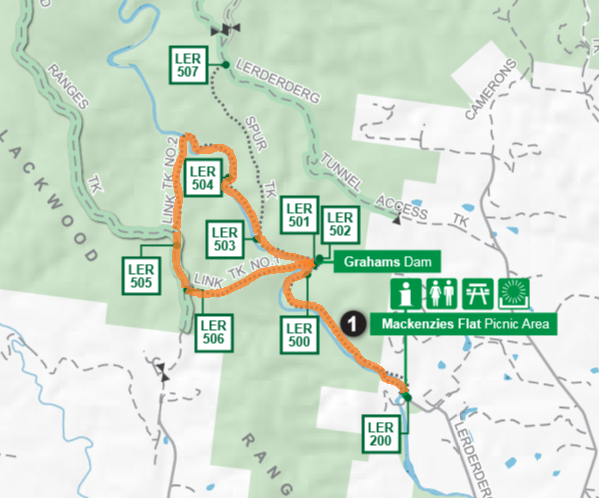
The walk to Graemes Dam is as always nice and easy. At the Dam, I started the climb up Link Track 1. It was pretty much down to business from the git go, the climb involves an elevation gain of just under 300 meters in around a kilometre, so the steepness of this track is pretty much on par with some of the steeper climbs that I've done in the past. The thing that stood out most here is how narrow this spur is in places, was quite an exciting climb! Bought back memories of the last time I climbed Diamantina Spur at Feathertop to be honest.
After around an hour climbing, and one particularly steep section that never seemed to end, I found myself at the top of the Blackwood Range.
About a kilometer up the 4WD track, I turned down Link Track #2. Having heard very little about the condition of this track, I expected nothing different from Link Track 1. After a few minutes on the spur, I found myself at the top of a bluff, and the track appeared to go down through the middle of it. No sidling, just straight down. Below around 50 - 100 meters lower I could see a small saddle, from which it appeared to ease somewhat. The drop down was very much a "hands and knees" affair, and involved a lot of climbing backwards in order to find reliable foot holes amongst the copious and diabolical amount of loose shale that was present throughout this section.
If I had to make a choice knowing what I know now, I'd rather climb this section than go down it. Descending here is considerably more dangerous than climbing up, plus the views down to the river after the cliff descent are disorienting somewhat, due to the fact that as you are walking, you're looking over a sheer drop off the side of the spur to the river.
Finally reached the river after needing to slide down the final extremely steep drop. When you reach the river here, its evident that there has been some serious flooding here recently. Trying to locate the track to Graemes Dam is particularly hard. After crossing at what appeared to be a man made crossing, the way that I found the track was by following the river directly under the bluffs, then climbing to the top of the bluffs from the right side. From here, looking down, you can see a faint track, and you simply need to scramble down to the track from here. From here to Graemes Dam, at times, is virtually untracked at the moment, due to the water damage. I lost the track a few times, but was able to find it again easily by following the numerous very faint foot pads that exist throughout here.
When you get to the bottom of the Spur track, things start to improve a bit, and was easily to follow to Graemes Dam.
I'd heard about the magic waters at Graemes Dam after a hike, so took a dip before taking off again, and getting back to the car. A swim here is definitely recommended after a long day.
Was a great walk to get my legs working again, handled it much better than I thought I would considering my weight, and would definitely go back and do it again in reverse.
Here's some photos that I took on the day.
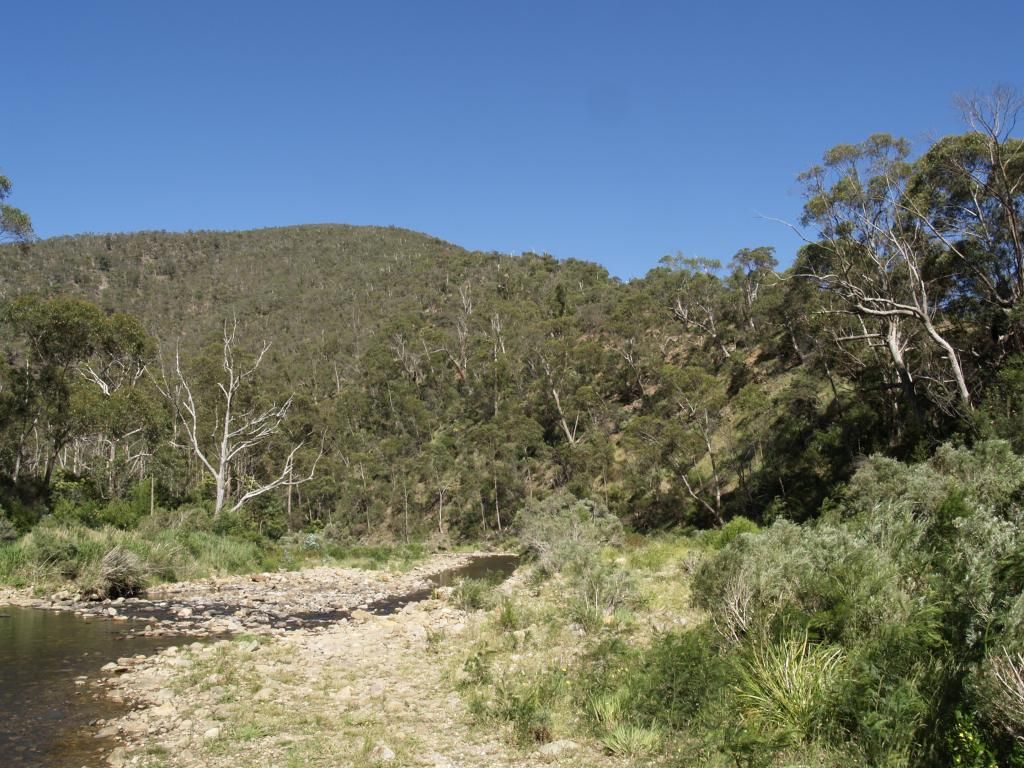
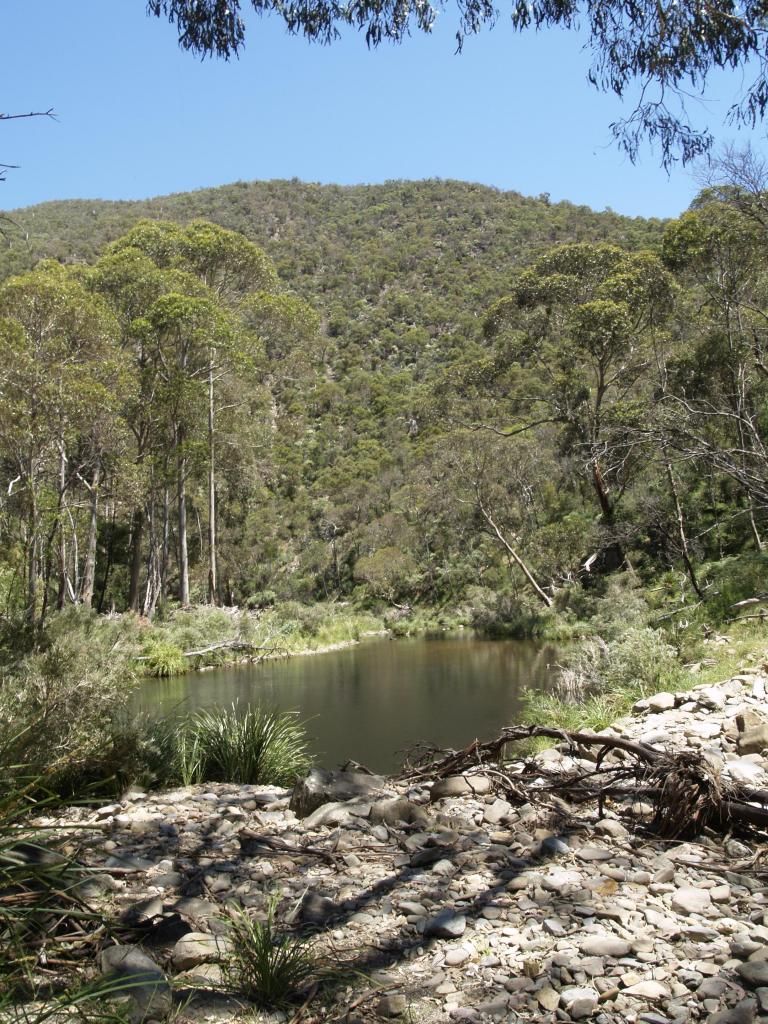
At Graemes Dam. The spur that Link Track 1 follows is in the right of the image.
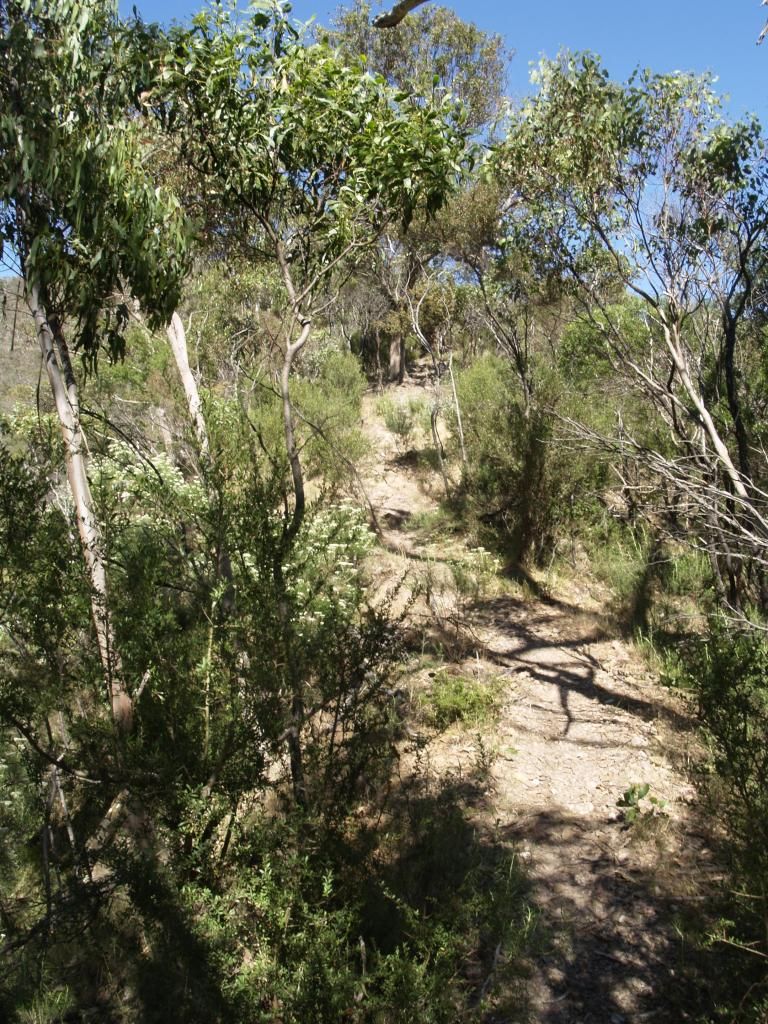
The start of the climb up Track 1. This was the easy bit.
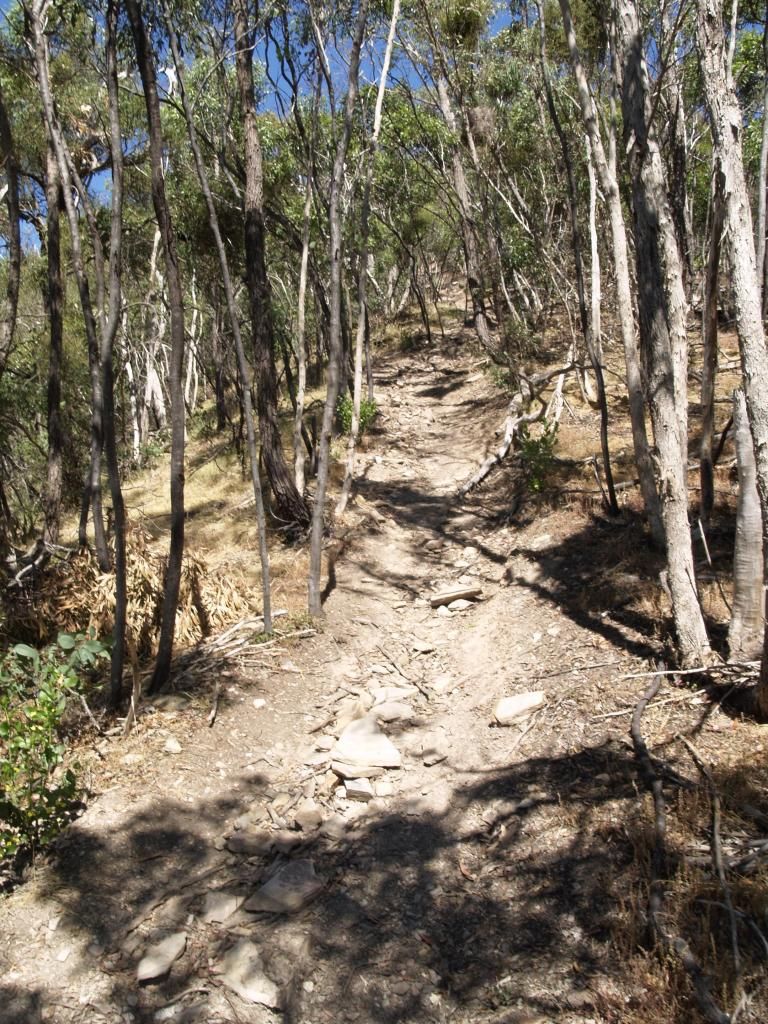
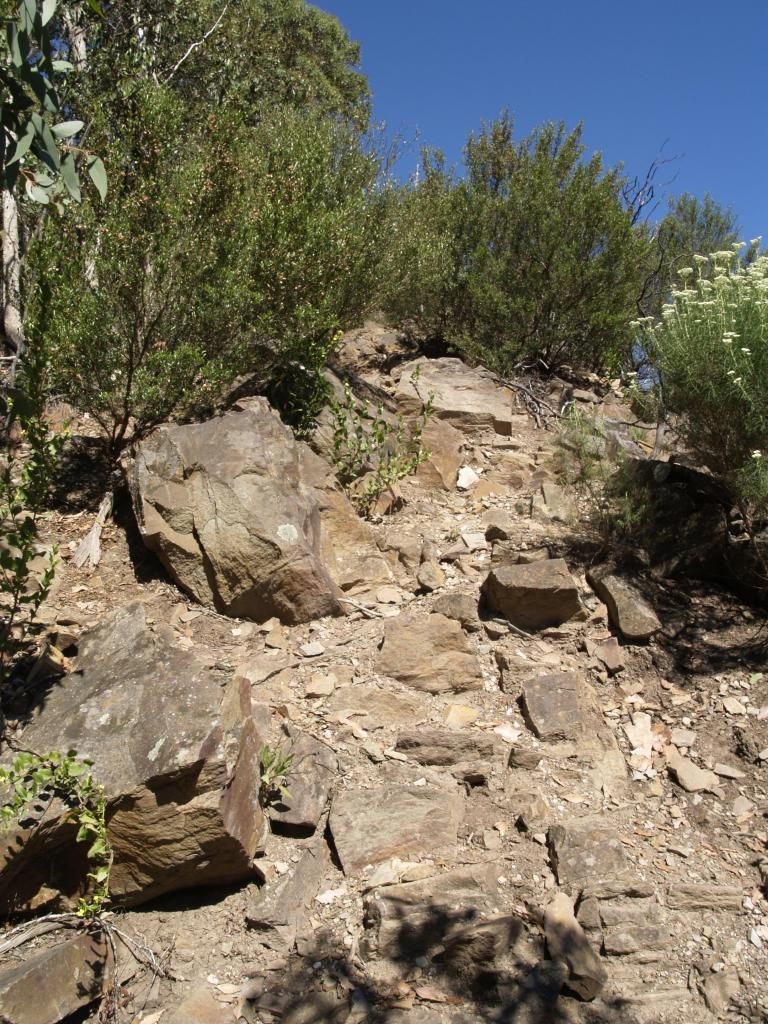
The relentless slog at the halfway mark that simply doesnt seem to end.
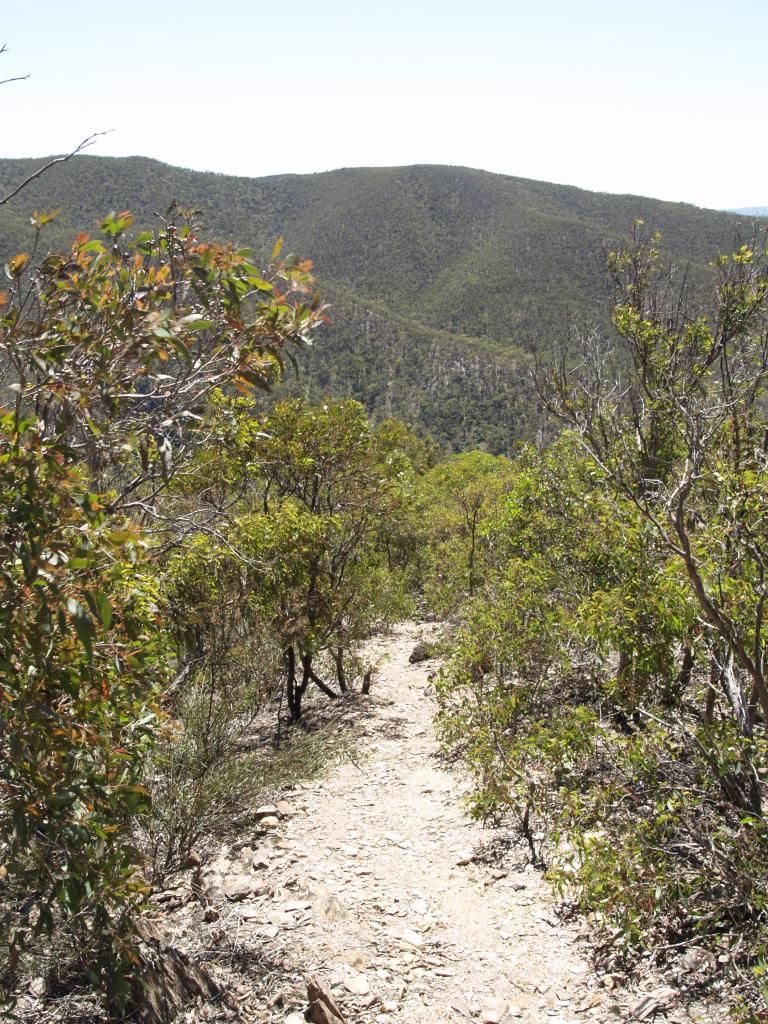
Near the top of Link Track 1
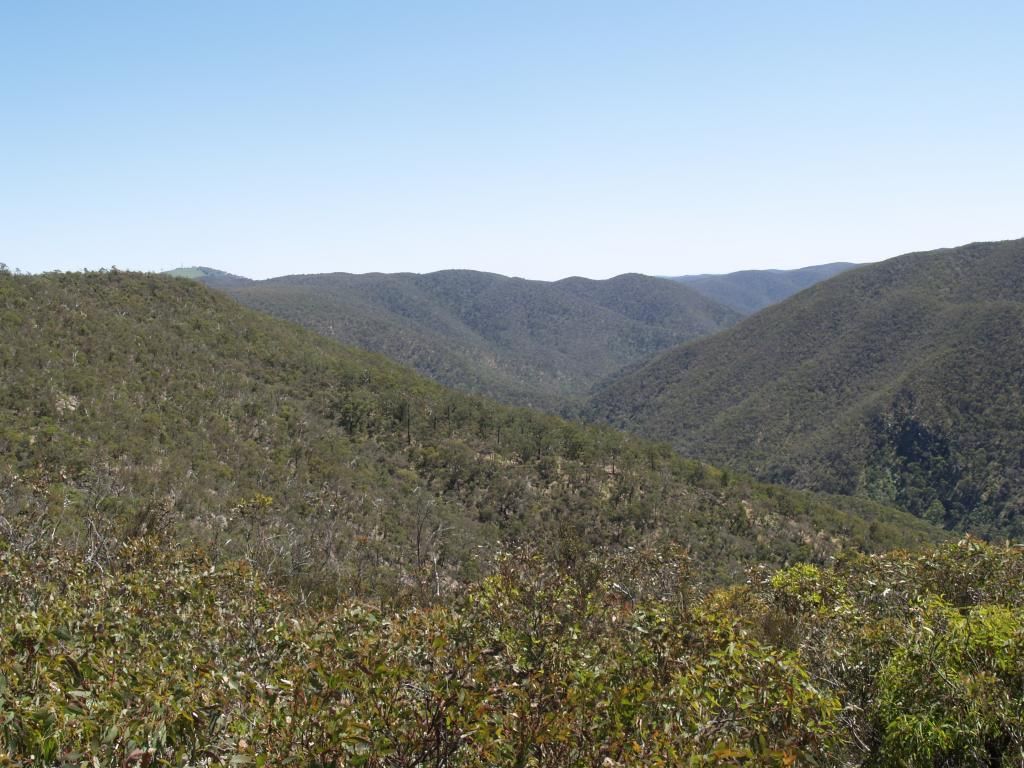
Looking towards Mt Blackwood - Lerderderg River from Link Track 1
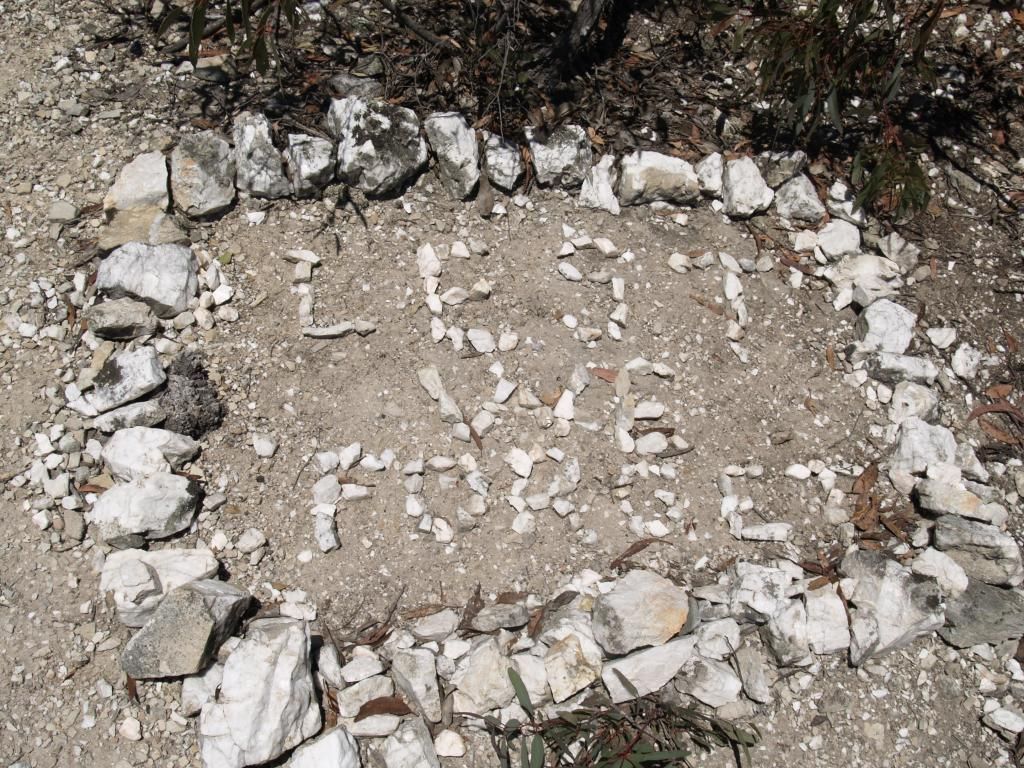
Found this 100 meters shy of the top of Link Track 1.
Heading down Link Track 2

The narrow bit below the bluffs on Link Track 2
Lerderderg River at the base of Link Track 2
Anyway, over the past 2.5 months, I've dropped around 25kg's, and thought I'd get in a fairly decent sized day walk to test my new level of fitness.
I'd never walked anything substantial at Lerderderg National Park, but upon my last visit, at Grahams Dam, took a particular fancy for the spur that rises up from the river bank, and thought I'd give it a shot, and make a circuit out of it.
The walk to Graemes Dam is as always nice and easy. At the Dam, I started the climb up Link Track 1. It was pretty much down to business from the git go, the climb involves an elevation gain of just under 300 meters in around a kilometre, so the steepness of this track is pretty much on par with some of the steeper climbs that I've done in the past. The thing that stood out most here is how narrow this spur is in places, was quite an exciting climb! Bought back memories of the last time I climbed Diamantina Spur at Feathertop to be honest.
After around an hour climbing, and one particularly steep section that never seemed to end, I found myself at the top of the Blackwood Range.
About a kilometer up the 4WD track, I turned down Link Track #2. Having heard very little about the condition of this track, I expected nothing different from Link Track 1. After a few minutes on the spur, I found myself at the top of a bluff, and the track appeared to go down through the middle of it. No sidling, just straight down. Below around 50 - 100 meters lower I could see a small saddle, from which it appeared to ease somewhat. The drop down was very much a "hands and knees" affair, and involved a lot of climbing backwards in order to find reliable foot holes amongst the copious and diabolical amount of loose shale that was present throughout this section.
If I had to make a choice knowing what I know now, I'd rather climb this section than go down it. Descending here is considerably more dangerous than climbing up, plus the views down to the river after the cliff descent are disorienting somewhat, due to the fact that as you are walking, you're looking over a sheer drop off the side of the spur to the river.
Finally reached the river after needing to slide down the final extremely steep drop. When you reach the river here, its evident that there has been some serious flooding here recently. Trying to locate the track to Graemes Dam is particularly hard. After crossing at what appeared to be a man made crossing, the way that I found the track was by following the river directly under the bluffs, then climbing to the top of the bluffs from the right side. From here, looking down, you can see a faint track, and you simply need to scramble down to the track from here. From here to Graemes Dam, at times, is virtually untracked at the moment, due to the water damage. I lost the track a few times, but was able to find it again easily by following the numerous very faint foot pads that exist throughout here.
When you get to the bottom of the Spur track, things start to improve a bit, and was easily to follow to Graemes Dam.
I'd heard about the magic waters at Graemes Dam after a hike, so took a dip before taking off again, and getting back to the car. A swim here is definitely recommended after a long day.
Was a great walk to get my legs working again, handled it much better than I thought I would considering my weight, and would definitely go back and do it again in reverse.
Here's some photos that I took on the day.
At Graemes Dam. The spur that Link Track 1 follows is in the right of the image.
The start of the climb up Track 1. This was the easy bit.
The relentless slog at the halfway mark that simply doesnt seem to end.
Near the top of Link Track 1
Looking towards Mt Blackwood - Lerderderg River from Link Track 1
Found this 100 meters shy of the top of Link Track 1.
Heading down Link Track 2
The narrow bit below the bluffs on Link Track 2
Lerderderg River at the base of Link Track 2